v-for 를 이용한 리스트 렌더링
- Loop
다음과 같이 비슷한 패턴의 component가 반복될 때 어떻게 구성해야 할까?
<Item>
<Item>
<Item>
<Item> x 100
loop 를 이용하면 손쉽게 반복되는 component 를 구성할 수 있다.
먼저, component를 구성하기 위해 webtoon이라는 데이터를 준비한다.
// App.vue

export default {
  data() {
    return {
      webtoons: [
        {
          name: "햄스터와 그녀",
          link: "http://webtoon.daum.net/webtoon/view/hamsterandher",
          img:
            "http://t1.daumcdn.net/webtoon/op/478cdf37f585607982ffa9e35b432e8503be8a54"
        },
        {
          name: "프롬 스타",
          link: "http://webtoon.daum.net/webtoon/view/fromstar",
          img:
            "http://t1.daumcdn.net/webtoon/op/a7fb953d722c1130bfc18440f7e3ce448ece57a1"
        },
        {
          name: "위대한 로맨스",
          link: "http://webtoon.daum.net/webtoon/view/greatromance",
          img:
            "http://t1.daumcdn.net/webtoon/op/a816281cb4df5c50a20ac386fd6e496643d0f085"
        },
        {
          name: "빛나는 손을",
          link: "http://webtoon.daum.net/webtoon/view/Hand",
          img: "http://t1.daumcdn.net/cartoon/5913FCAC0234C50001"
        }
      ]
    };
  }
};
Webtoon.vue 라는 component를 만든다.
Webtoon component는 Webtoon 데이터를 props로 받는다.
// Webtoon.vue

<template>
  <div>
    <h2>Webtoon</h2>
    <ul class="wrap"></ul>
  </div>
</template>

<script>
export default {
  props: {
    items: { type: Array, default: () => [] }
  }
};
</script>

<style>
</style>
items라는 props를 선언.
이제 App.vue에서 component를 불러오고 props를 전달해준다.
App 의 state (webtoons) 를 webtoon 에게 props 로 데이터를 넘겨준다.
// App.vue

<template>
  <div id="app">
    <Webtoon :items="webtoons"/>
  </div>
</template>

<script>
import Webtoon from "./components/Webtoon";

export default {
  components: {
    Webtoon
  }
  // data .....
}
</script>
import를 하고, components에 Webtoon을 넣어주고,
html에서 Webtoon component에 :items="webtoons" 라는 props를 넣어줬다.
이제 v-for라는 것을 이용하여 리스트를 렌더링 하려고 한다.
<div v-for="i in 10" :key={i}>{i}</div>아래와 같이 리스트가 구성된다. 리스트 렌더링 되는 component 는 항상 key 라는 props 값이 필요하다. key 가 필요한 이유를 간단하게 설명하면, 가상돔에서 리스트 component 에서 변경된 부분을 감지할 때 저 key 라는 값을 이용하기 때문에 리스트 렌더링시에는 항상 key 라는 값이 필요하다.
위의 방법을 바탕으로 webtoon component 를 구성해본다.
// webtoon.vue

<template>
  <div>
    <h2>Webtoon</h2>
    <ul class="wrap">
      <li class="item" v-for="(item, idx) in items" :key="{idx}">
        <a :href="item.link" target="_blank">
          <img :src="item.img">
          <span class="tit">제목: {{item.name}}</span>
        </a>
      </li>
    </ul>
  </div>
</template>
v-for 를 이용하여 item 리스트를 렌더링 한다. (item: 객체, idx: 배열의 인덱스), key 값은 인덱스 값을 이용한다.
:href , :src 같이 기본 태그에 : 가 붙어 있는걸 볼 수 있다. : 가 붙으면 "" 영역이 JS 영역으로 변경된다.
그렇기 때문에 item 객체에 접근할 수 있게 된다.
나만의 정리 => 반복문으로 배열의 값들을 뽑아낸다고 생각하면 될 것 같다.
items 라는 props를 등록했고, 거기에 사용될 데이터는 webtoons라는 data를 선언해놓았다.
v-for에서, items 안에 있는 배열을 item이라는 이름으로 하나씩 꺼내고, 그 item에 있는 link, img, name 을 출력한 것이다.
(문법? 은 차차 익숙해지면 될 듯...)
스타일은 Webtoon.vue 에서 적용해보았다.
// Webtoon.vue
<style scoped>
h2 {
text-align: center;
}
a {
list-style: none;
text-decoration: none;
}
li {
list-style: none;
}
.wrap {
max-width: 450px;
width: 100%;
margin: 0 auto;
}
.item {
border-bottom: 1px solid #ebebeb;
margin-bottom: 25px;
}
.tit {
display: inline-block;
font-size: 18px;
font-weight: bold;
color: #000;
padding: 20px 15px;
}
img {
width: 100%;
background: #ebebeb;
border-radius: 4px;
}
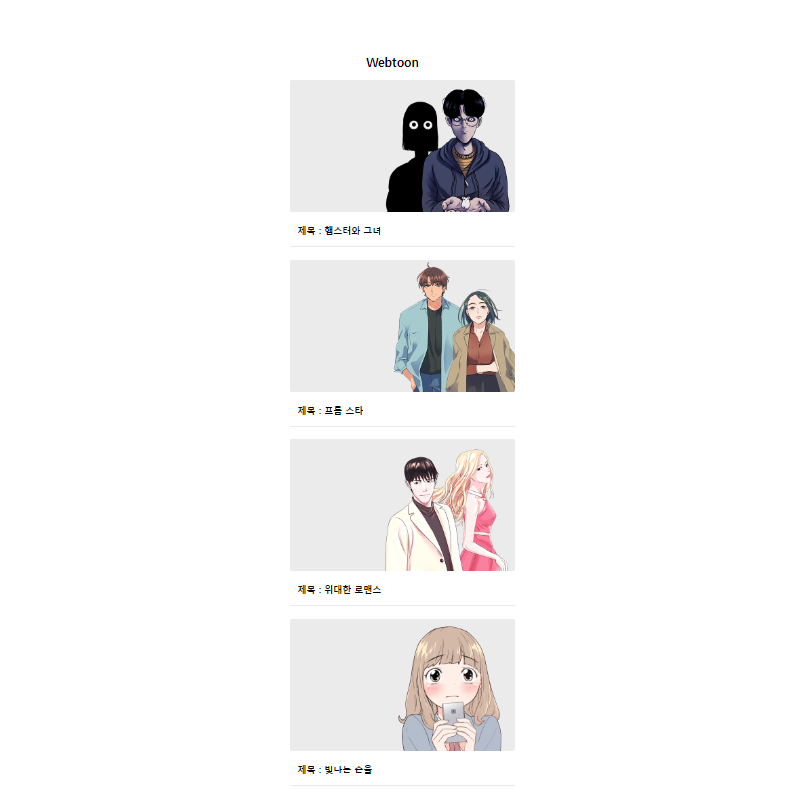
</style>결과)
'Vue.js' 카테고리의 다른 글
| Data Binding (0) | 2022.11.03 |
|---|---|
| v-if, v-show 를 이용한 조건부 렌더링 (0) | 2022.11.03 |
| State와 Props (0) | 2022.10.26 |
| Component 구성해보기 (0) | 2022.10.25 |
| Vue.js 시작 (0) | 2022.10.25 |